Scratch Arduino Extension

You will need to use the Firefox web browser for this extension to work
Download and install the Scratch Extensions Browser Plugin for "other web browsers"
*There is an issue with the Chrome version of the Scratch Extensions Browser Plugin that is preventing the Arduino extension from working properly in the Chrome web browser
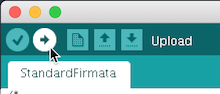
Launch the extension by going to the following URL:
http://scratchx.org/?url=http://khanning.github.io/scratch-arduino-extension/arduino_extension.jsNOTE: On Firefox, you might see "Allow scratchx.org to run "Scratch Device?". Click "Allow...".

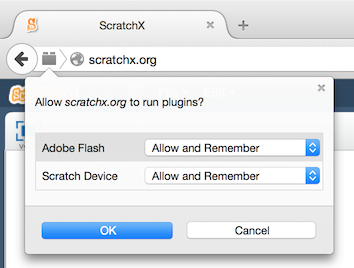
You might see another message, "Allow scratchx.org to run plugins?". Set both Adobe Flash and Scratch Device to "Allow and Remember" and click okay.
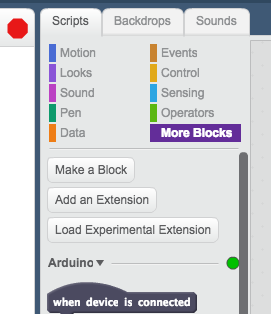
When you see the indicator light in the "More Blocks" tab turn green your ready to start using the extension!
See the section on the homepage for Supported Languages, for information on alternate block tanslations.
Now take a look at the Scratch Blocks and the example projects to learn how to use the extension.